
This post may contain affiliate links. Please see my disclosure policy.
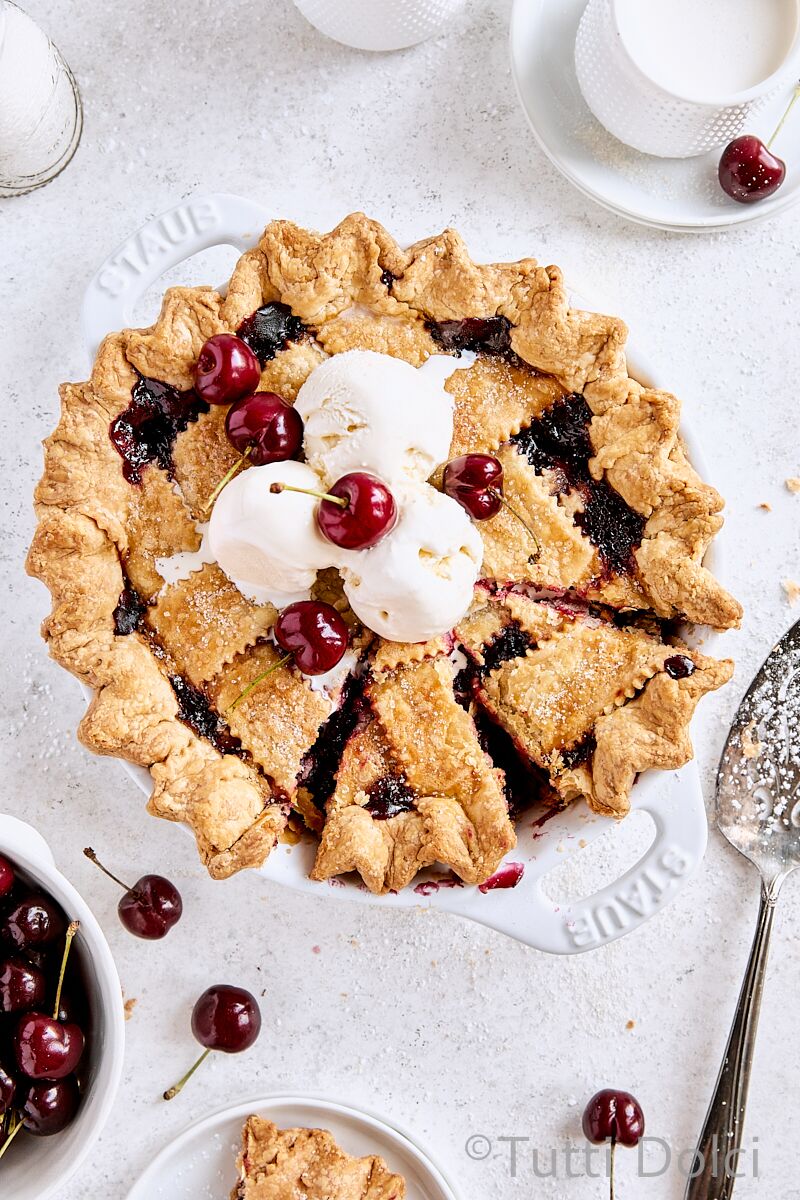
Nothing says summer like cherry pie, especially one made completely from scratch! With its golden, flaky lattice crust and fresh cherry filling, this homemade cherry pie is a delicious classic. Serve topped with vanilla ice cream for the ultimate summer dessert!
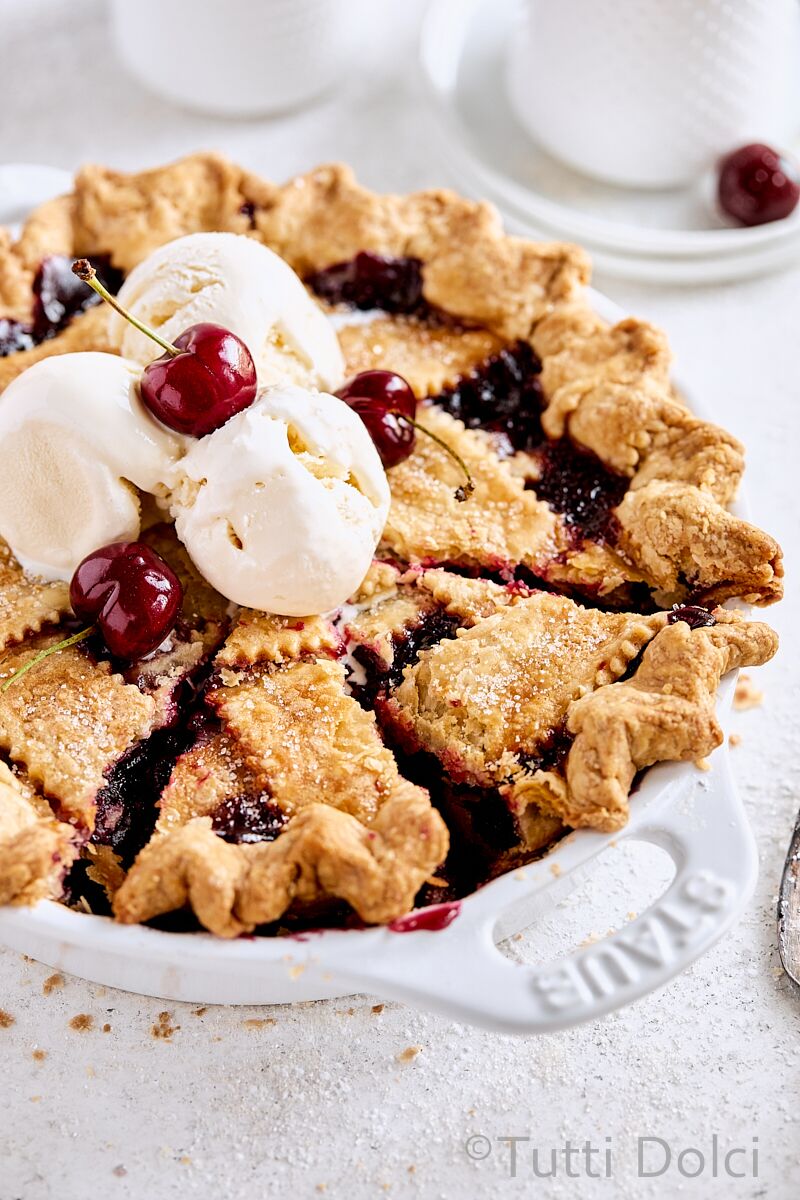
Cherry pie is one of my favorite homemade pie recipes! Fresh, dark sweet cherries are my pick for this pie. I like baking with dark red varieties like Bing cherries.
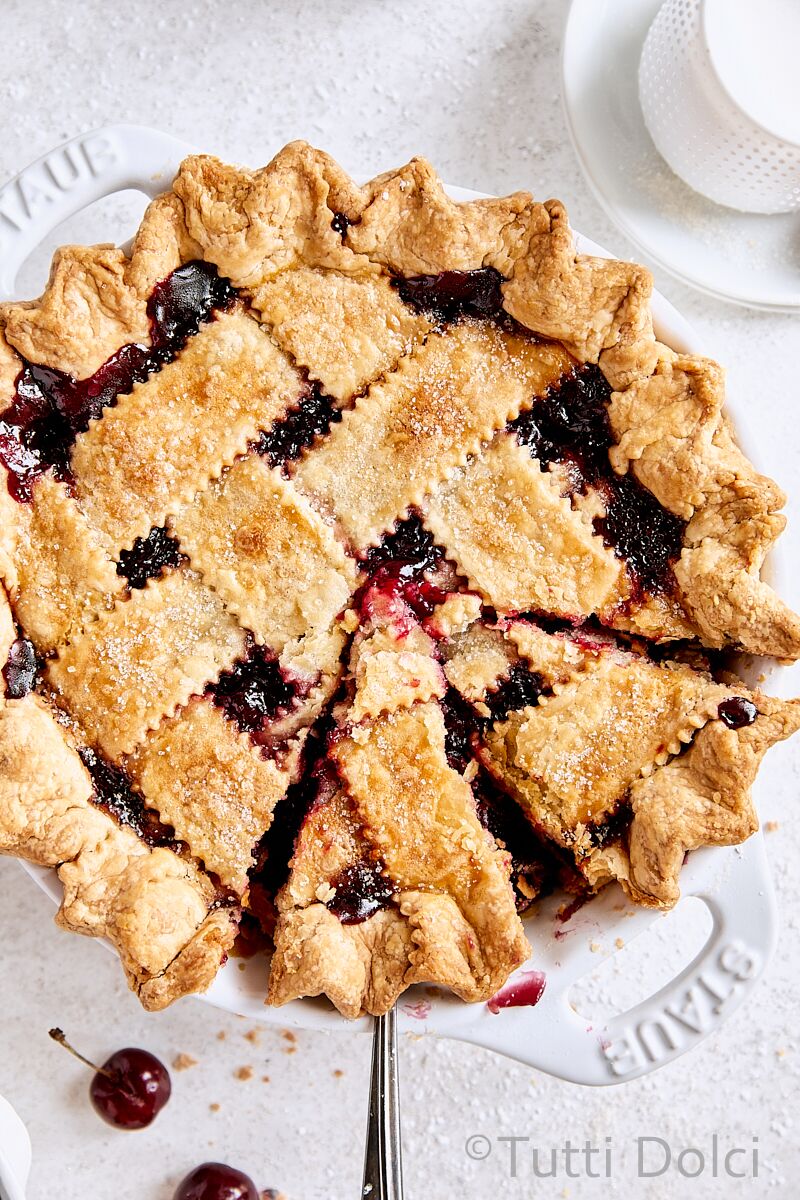
To ensure that the filling sets up nicely, I pre-cook it on the stovetop until the cherries have softened and the texture is thick and jammy. The sweet cherry filling bakes up perfectly delicious in a flaky, all-butter crust and lattice top.
Success Tips for Cherry Pie
My go-to pie crust recipe is an all-butter pastry that comes together under 5 minutes using a food processor. You can make the pie dough up to 2 days in advance, and I always recommend making the dough ahead to give it time to chill for at least 1 hour before rolling out.
To ensure that the pie filling sets up nicely, pre-cook it. Combine half of the cherries (3 cups), granulated sugar, and salt in a heavy saucepan. Cook until the fruit has softened, then stir in lemon juice and gradually whisk in cornstarch until fully incorporated. Continue cooking until filling is thick and jammy, and the sauce coats the back of a spoon. Transfer filling to a mixing bowl and stir in remaining cherries. Let the filling cool to room temperature before assembling your pie.
Adjust the sugar based on the sweetness of the cherries. This recipe includes a range of sugar. If your cherries are less sweet, use the full amount of sugar (1 1/4 cups). If your cherries are very sweet and flavorful, use 1 cup of sugar.
Make Ahead Tips
The pie dough and cherry pie filling can be made 1-2 days in advance and refrigerated until you’re ready to assemble the pie.
You can also assemble the entire cherry pie in advance, and freeze up to 2 months. When you’re ready to bake, transfer the pie directly from the freezer to the oven and bake as directed.

More favorite cherry desserts:
Print
Fresh Cherry Pie with Homemade Filling
- Prep Time: 2 hours
- Cook Time: 70 minutes
- Total Time: 3 hours 10 minutes (plus cooling time)
- Yield: 1 9-inch pie, 8 servings
- Category: Dessert
- Method: Bake
- Cuisine: American
Description
Nothing says summer like cherry pie, especially one made completely from scratch! With its golden, flaky lattice crust and fresh cherry filling, this homemade cherry pie is a delicious classic. Serve topped with vanilla ice cream for the ultimate summer dessert! Recipe makes one 9-inch pie.
Ingredients
Crust
- 2 1/2 cups (350 g) all-purpose flour
- 1 tsp (6 g) salt
- 2 tsp (8 g) granulated sugar
- 1 cup (224 g) cold unsalted butter, cubed
- 1/4 to 1/2 cup (60 to 120 g) ice water
Filling
- 6 cups (840 g) fresh cherries, pitted and halved, divided
- 1 to 1 1/4 cups (200 to 250 g) granulated sugar
- 1/8 tsp salt
- 2 tsp lemon juice
- 1/3 cup (43 g) cornstarch
Topping
- 1 Tbsp (15 g) heavy cream
- 1 Tbsp (12 g) coarse sugar
Instructions
- Prepare dough: For the crust, combine flour, salt, and sugar in a food processor. Add cubed butter and process for 10 seconds, just until the mixture resembles coarse meal. With the food processor running, add 1/4 cup ice water in a steady stream through feed tube. If needed, add additional ice water 1 tablespoon at a time, and process just until dough holds together in large clumps (no more than 30 seconds). Divide dough into two equal portions. Wrap each portion in plastic and flatten slightly to form a disc. Chill in the refrigerator at least 1 hour (or up to 2 days, or place in a freezer bag and freeze up to 1 month).
- Prepare filling: Combine 3 cups (420 g) cherries, sugar, and salt in a heavy saucepan. Cook over medium-high heat, stirring frequently, until the fruit has softened (10-12 minutes). Add lemon juice. Gradually whisk in cornstarch until completely dissolved. Continue cooking for 2-3 more minutes, until filling is thick and jammy, and the sauce coats the back of a spoon. Transfer filling to a mixing bowl and stir in remaining cherries. Let filling cool to room temperature before using (filling can be made ahead and chilled overnight).
- Roll dough: Place one disc of dough on a floured board and dust dough with flour. Roll out dough (roll dough in one direction, then lift up dough and rotate a quarter turn and roll, then repeat) until dough is a 12 to 13-inch circle. If dough starts to stick, use a bench scraper to lift dough from board. Transfer dough to a 9-inch pie pan. Trim overhang to 1 inch and chill for 10 minutes.
- Repeat the rolling process with the second disc of dough, rolling out to just under a 1/4-inch thickness. Use a pastry wheel or sharp knife to cut dough into 1 1/2-inch strips for the lattice top. Chill the strips for 10 minutes.
- Assemble the pie: Spoon cherry filling into chilled bottom crust and arrange dough strips over the top in a lattice pattern. Fold over dough overhang and crimp edges. Chill assembled pie in the freezer for at least 1 hour before baking, or overnight (if freezing overnight, lightly cover with plastic wrap).
- Place a rimmed baking sheet lined with foil in the oven and preheat to 375°F. Brush lattice lightly with heavy cream and sprinkle with sugar. Place pie on pre-heated baking sheet and bake for 20 minutes.
- After 20 minutes, reduce heat to 350°F and continue baking another 40-50 minutes (for a total baking time of 60-70 minutes), until crust is golden and fruit juices are bubbling slowly at the center of the pie. If pie is fully frozen, baking time may be up to 90-100 minutes. Check pie partway through – if crust is browning too quickly, shield edges or top with foil for remaining baking time.
- Cool pie on a wire rack for at least 4 hours before serving (filling thickens as it cools). Once pie is cut, store leftovers in the refrigerator.
Notes
Make ahead: The dough and cherry filling can be made 1-2 days in advance and refrigerated until ready to use. You can also assemble the entire pie in advance, and freeze up to 2 months. When you’re ready to bake, transfer the pie directly from the freezer to the oven and bake as directed.


Made this pie last night and just cut into it. The crust holds shape beautifully and the filing is the perfect thickness. Thank you for an excellent recipe!
Thanks so much for this feedback, Tricia!
thank you, haven’t made this in so long I don’t have a good recipe that I could remember, perfect recipe for today!